Jupyter Notebook
Creating a Jupyter Notebook
To create a Jupyter Notebook, run:
llma workspace notebooks create my-notebook
By default, there is no GPU allocated to the Jupyter Notebook. If you want to allocate a GPU to the Jupyter Notebook, run:
llma workspace notebooks create my-gpu-notebook --gpu 1
There are other options that you can specify when creating a Jupyter Notebook, such as environment. You can see the list of options by using the --help flag.
Once the Jupyter Notebook is created, you can access it by running:
# Open the Jupyter Notebook in your browser
llma workspace notebooks open my-notebook
Stopping and Restarting a Jupyter Notebook
To stop a Jupyter Notebook, run:
llma workspace notebooks stop my-notebook
To restart a Jupyter Notebook, run:
llma workspace notebooks start my-notebook
You can check the current status of the Jupyter Notebook by running:
llma workspace notebooks list
llma workspace notebooks get my-notebook
OpenAI API Integration
Jupyter Notebook can be integrated with OpenAI API. Created Jupyter Notebook is pre-configured with OpenAI API URL and API key. All you need to do is to install the openai package.
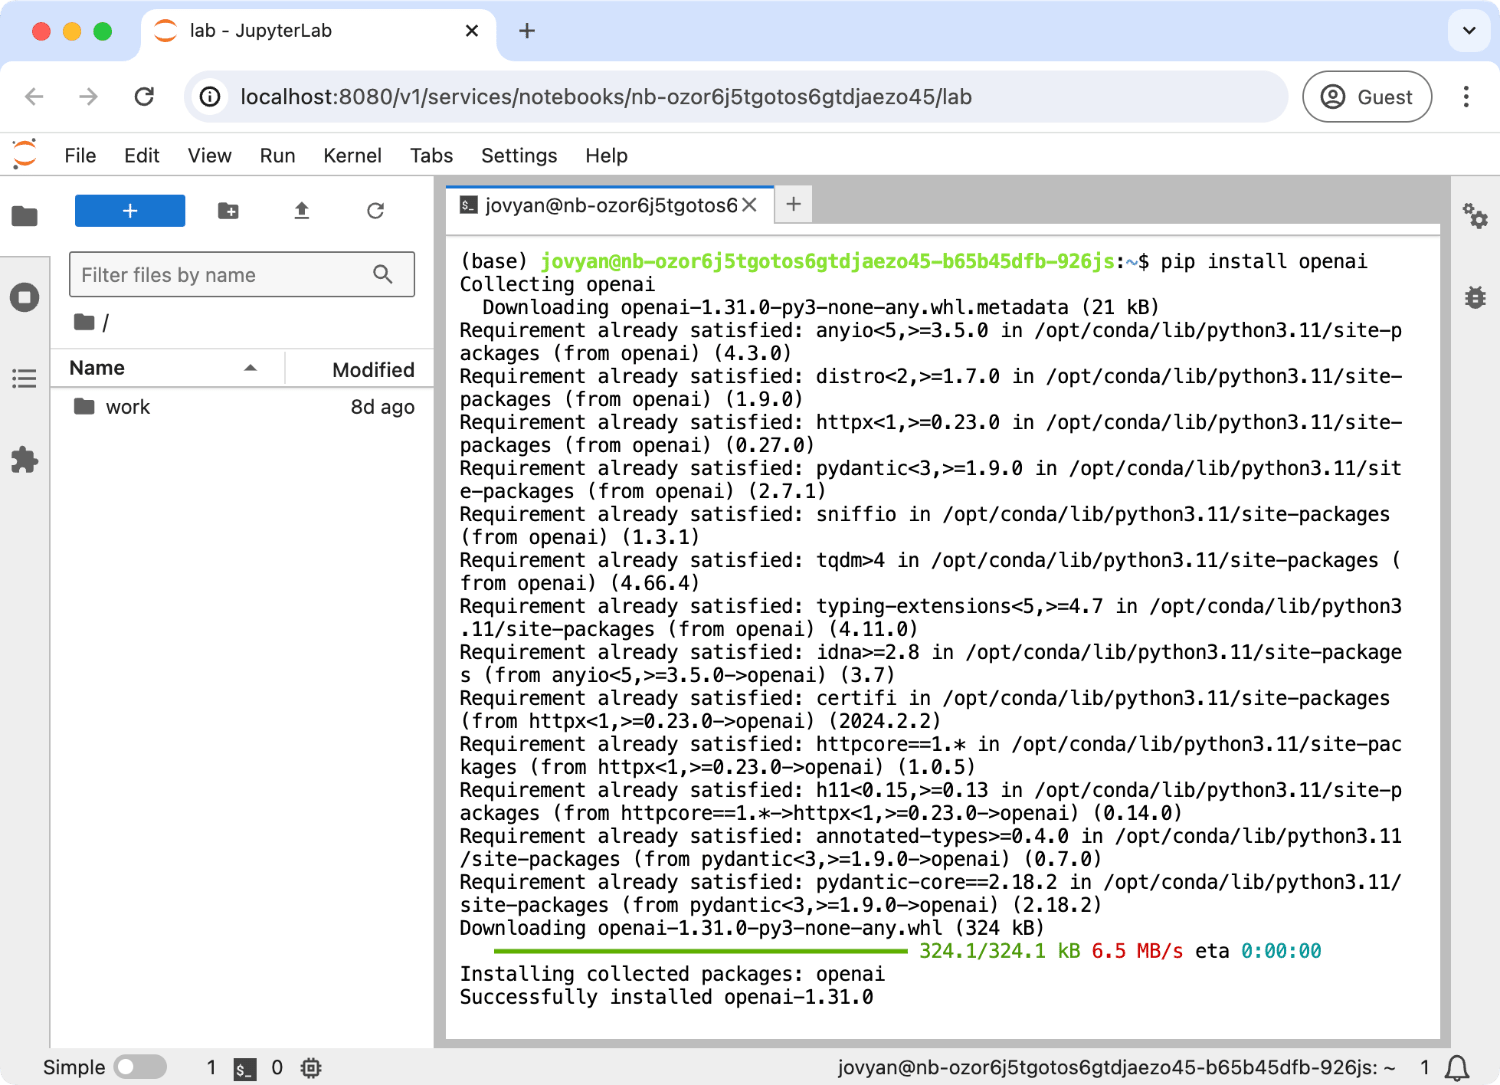
To install openai package, run the following command in the Jupyter Notebook terminal:
pip install openai
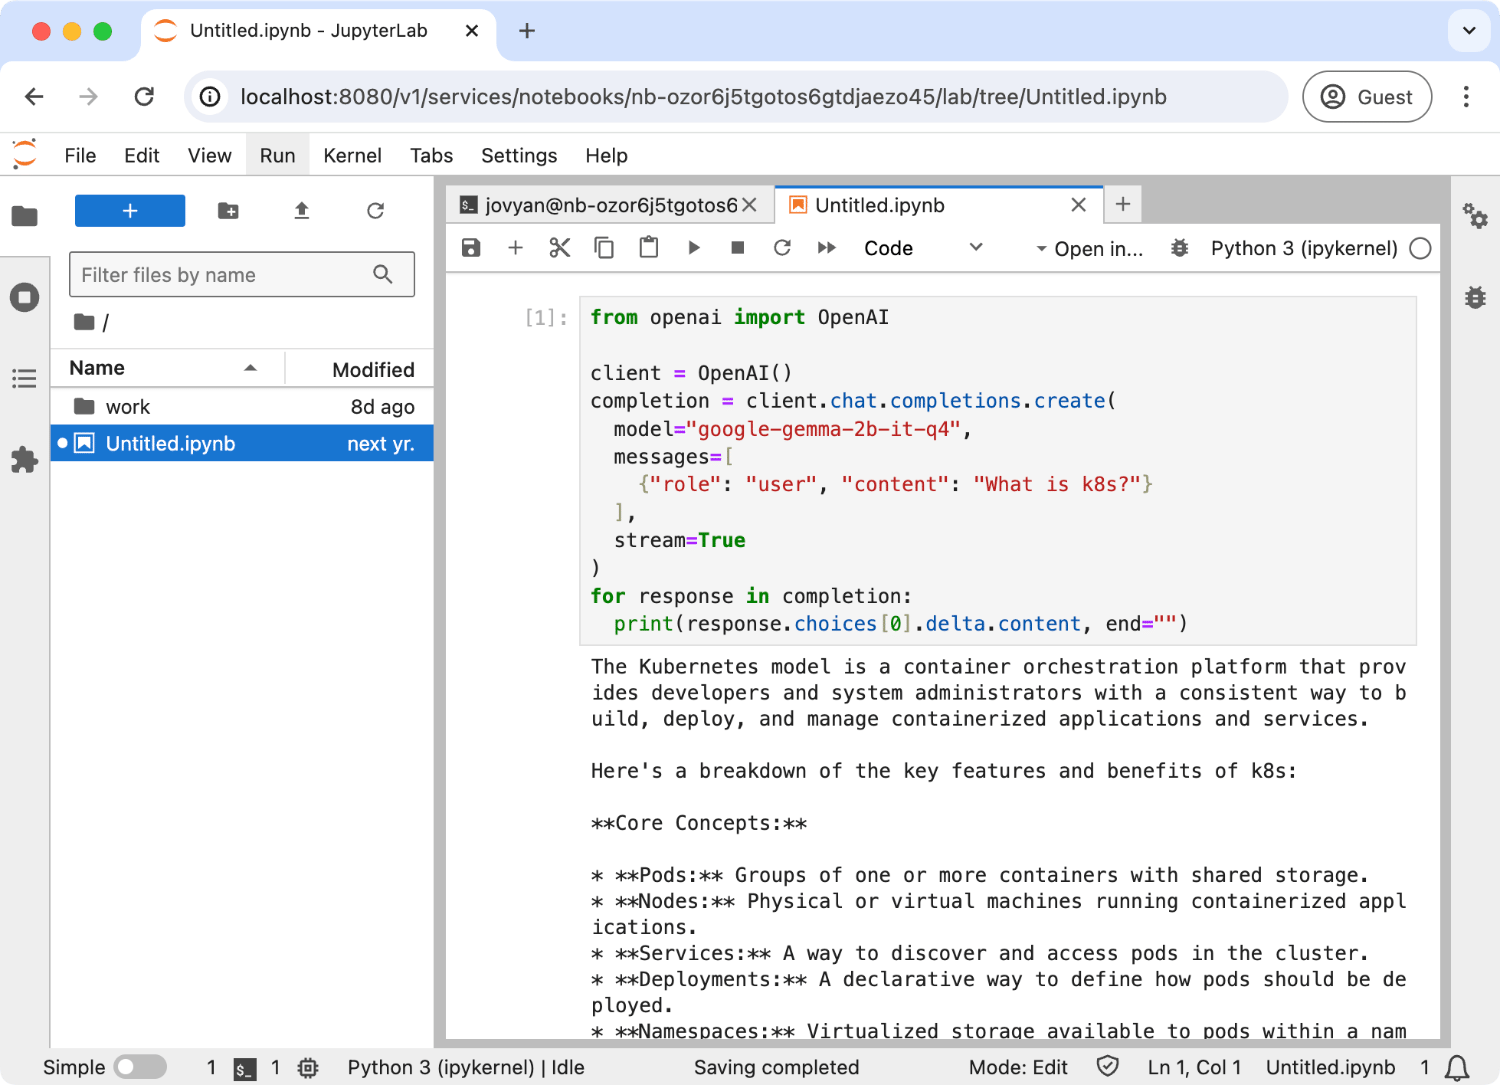
Now, you can use the OpenAI API in the Jupyter Notebook. Here is an example of using OpenAI API in the Jupyter Notebook:
from openai import OpenAI

client = OpenAI()
completion = client.chat.completions.create(
  model="google-gemma-2b-it-q4_0",
  messages=[
    {"role": "user", "content": "What is k8s?"}
  ],
  stream=True
)
for response in completion:
  print(response.choices[0].delta.content, end="")
print("\n")
Note
By default, pre-configured API key is a JWT and it can expire. You can also pass your API key to theOpenAI client.Running vLLM inside the Jupyter Notebook
You can run a vLLM server inside a Jupyter Notebook and access it from your local desktop/laptop.
First, create a Notebook with --gpu and --port. --gpu will allocate a GPU to the Notebook pod, and --port will expose a specified port externally. For example, the following command will create a Notebook with one GPU and expose port 8000.
llma workspace notebooks create my-notebook --gpu 1 --port 8000
Once the Notebook starts running, access it.
llma workspace notebooks open my-notebook
Then go to the terminal and run:
pip install vllm

# To resolve the vLLM dependency issue.
pip install "numpy<2"

# You can choose other model. Set env var HUGGING_FACE_HUB_TOKEN if needed.
vllm serve TinyLlama/TinyLlama-1.1B-Chat-v1.0
This will start a vLLM server at port 8000.
You can obtain the base URL of the vLLM server with the following command:
llma workspace notebooks open my-notebook --port 8000 --no-open
You need to set the Authorization header of requests to an LLMariner API key. Here is an example to list model and send a chat completion request.
LLMARINER_BASE_URL=$(llma workspace notebooks open vllm-test --port 8000 --no-open | grep http)

# Create a new API key and save its secret
LLMARINER_TOKEN=$(llma auth api-keys create test-key | sed -n 's/.*Secret: \(.*\)/\1/p')

# List models.
curl \
  --header "Authorization: Bearer ${LLMARINER_TOKEN}" \
  --header "Content-Type: application/json" \
  "${LLMARINER_BASE_URL}/v1/models" | jq .

# Send a chat completion request.
curl \
  --request POST \
  --header "Authorization: Bearer ${LLMARINER_TOKEN}" \
  --header "Content-Type: application/json" \
  --data '{"model": "TinyLlama/TinyLlama-1.1B-Chat-v1.0", "messages": [{"role": "user", "content": "What is k8s?"}]}' \
  "${LLMARINER_BASE_URL}/v1/chat/completions" | jq .